Where is my water meter & water shut off valve located?
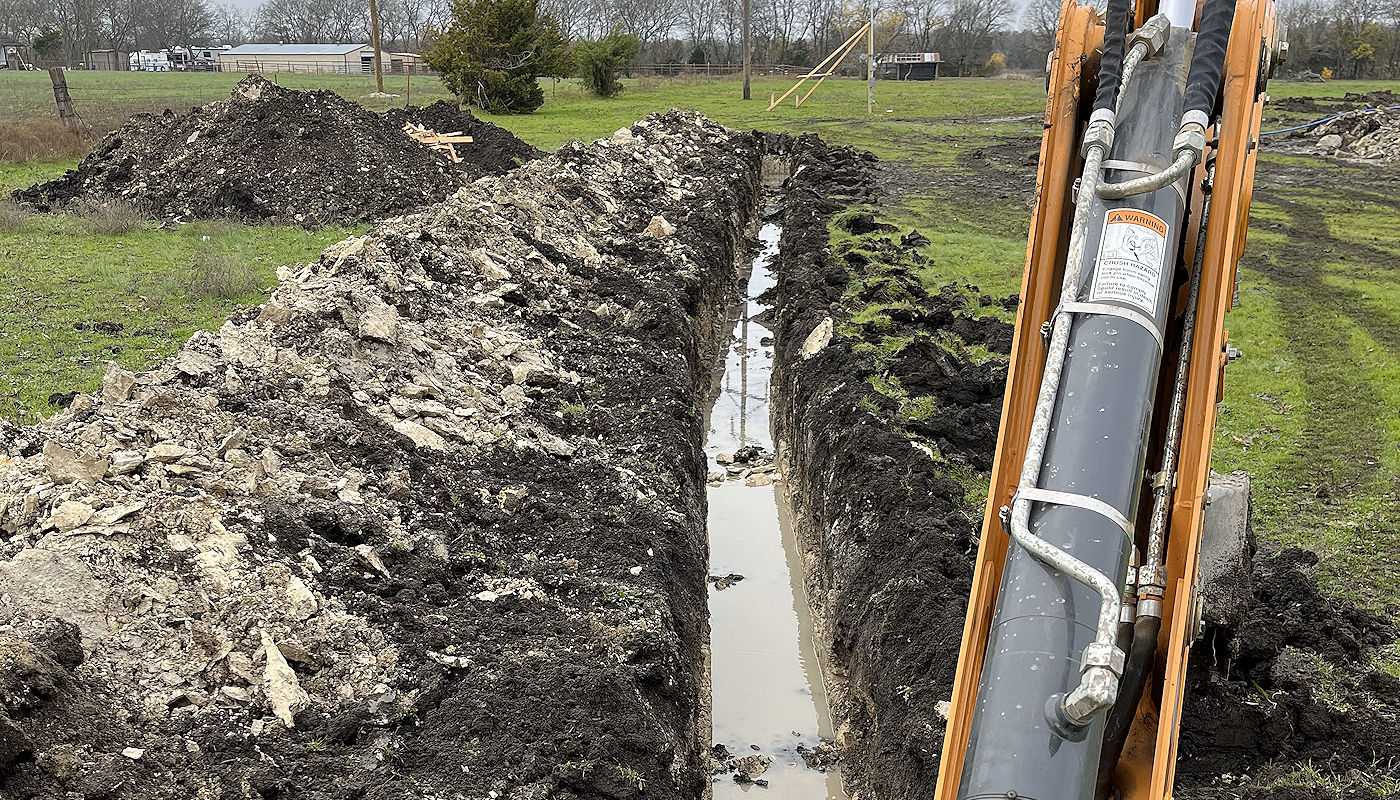
Water Line Trenching Solutions from Texoma Excavation & Construction
Where is my water meter & water shut off valve located?
Water Line Trenching Solutions from Texoma Excavation & Construction
Where is my water meter? Where is my water shut off valve located?
These two questions: “Where is my water meter?” and “Where is my water shut off valve?” are among the most common web searches when it comes to water pipe leak issues. The fact that over 50,000 searches are done on Google alone (EACH MONTH, and there are other search engines besides them that only increase that number), would lead us to believe that most folks aren’t ready for the time when they need that information. Worse, it is often needed in a hurry! The point of this article is to not only answer that specific question – or perhaps help you find it if your particular situation is unique, but also to help you plan for the other things you may need to do should (when) this occurs.
Water gushing uncontrollably through your house is hazardous and unsafe, and will quickly cause major flood damage to your home’s interior. When that water is coming from your home’s own water supply, and not from environmental sources like rain or flooding, you can and should shut down the water fast. You have several water shut-off points, starting with your home’s own main shut-off valve.
Here are some common places to look for your water shut off valve and/or water meter:


Planning for water pipe emergencies BEFORE they happen:
It’s always a good idea to be prepared for a water leak disaster.
Here are some tips to help you plan for water pipe emergencies before they happen:
Who is responsible for various parts of a water service connection?
It’s important for you to know the answer to this question, especially if it is another party (i.e. water department) that will be responsible. You want to get them involved as soon as possible not only to fix the problem (if it is not your responsibility), but to get some sort of reimbursement for anything you have to do because their ‘side’ of the utility connection is broken.
A water lateral is a pipe that carries water from the water main to a property. It may include a tap, a valve, a meter, and other accessories¹. The owner’s responsibility of the water lateral may vary depending on the location of the connection. For residences, the water service lateral is usually 1 inch in size and runs from the water main into the home where the water meter is installed.
A typical water service lateral includes a tap at the main, a length of pipe to a location at or near the street right-of-way line, a curb stop and box, and another length of pipe into the building being served³. The cost of the initial installation of a water service lateral is the responsibility of the customer.
After the initial installation, the standard water industry practice is that the part of the water service lateral between the main and the curb stop is owned and maintained by the utility. The part of the service lateral from the curb stop to the building is owned and maintained by the customer. The curb stop is the boundary between the two parts of the service lateral.
Resources
- 1How To Find Your Home’s Outside Water Shut Off Valve, Online resource.
- 2How to Find Your Home’s Main Water Shut Off Valve – The Spruce, Online resource.
- 3How To Locate Your Gas Shut Off Valve,FamilyHandyman.com. Online resource.
- 4How to Find the Main Water Shut-Off Valve,Bob Hoegler Plumbing. Online resource.
- 5How Do I Find My Water Shut Off Valve, Mr. Rooter Plumbing. Online resource.
- 6Five Steps to Handle Water Damage Emergencies in Facilities, Online resource.
- 7Emergency Response Planning Template for Public Drinking Water Systems, Online PDF resource.
- 8Water leak emergency response planning guide – Marsh, Online resource.
- 9Develop or Update an Emergency Response Plan, US EPA. Online resource.
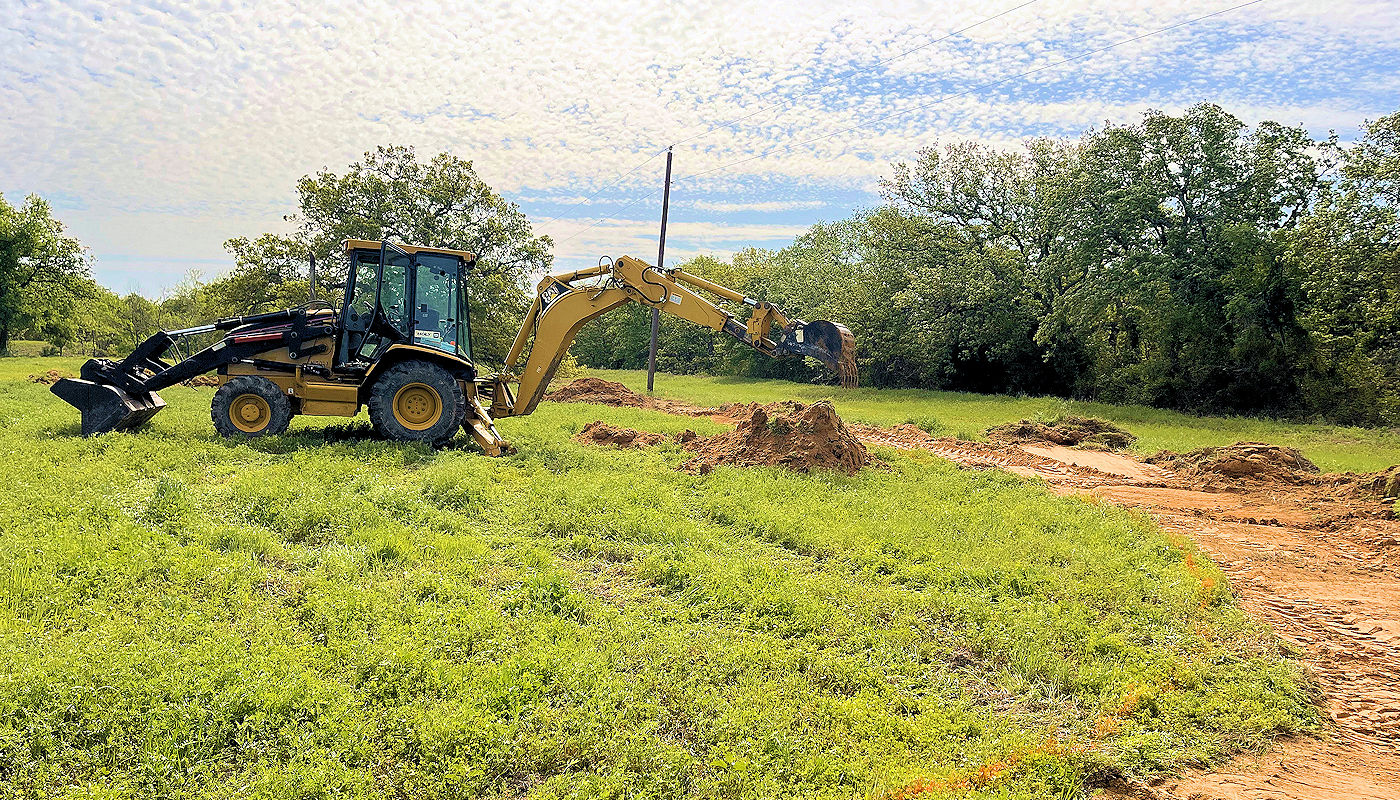
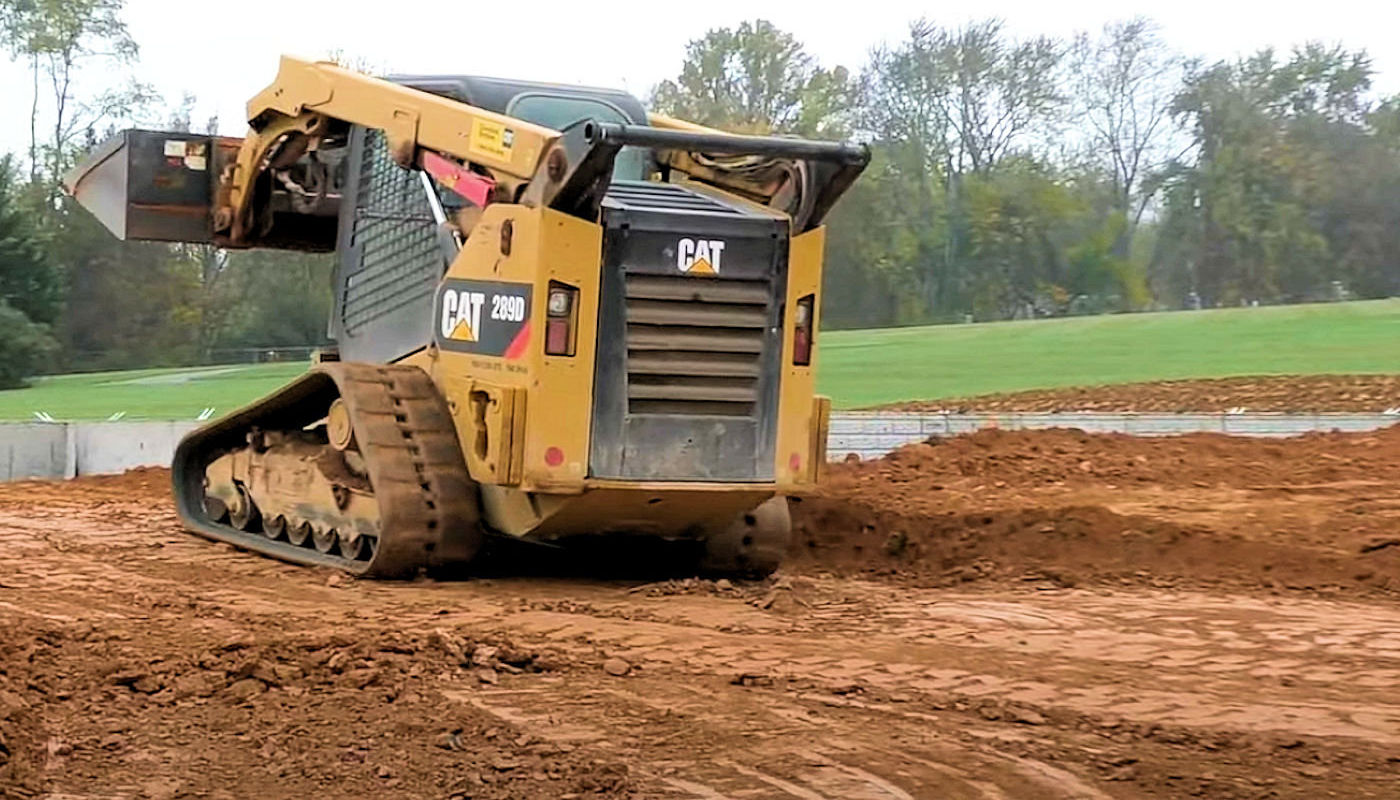
Past Excavation Projects

The above image shows Texoma Excavation & Construction digging a new power supply ditch and tying into the existing live power supply near Melissa, Texas. The paver stones were salvaged to be replaced. All the PVC, electrical conduit, phone lines, and small electrical lines that were destroyed were anticipated.

Pond building is a complex process that requires careful planning and execution. After all the planning, the first construction step is excavation of the area where the pond will be located. The pond excavation work shown above was near Montague, Texas. When this pond is full, it will be 7′ 2″ deep at its deepest point.

Residential drainage excavation work done near Denison, Texas. This client had some significant drainage problems during periods of high-volume runoff and tried to excavate a ditch to channel water away from his house. We were hired to polish the existing ditch and spread some grass seed.